I like to run armor in Arma 3. It is full of moments where your guns are blazing, full of action, dodging rounds left and right. To lose that key shot that leaves everyone in awe at your gunnery skill. Weaving around obstacles, adrenaline-pumping gives such a feeling of empowerment and satisfaction. So how do you get to this level of prowess?

Armor can be a lot of things. Some armored vehicle crews think a guns blazing playstyle is best, but it can often end suddenly. However, skilled crew members are calculating in their usage and deadly in their precision. There can be quite a large discrepancy between the skill of someone who thinks they know armor and the skill of someone who knows they will never perfect the armored playstyle. It can take years to become sufficiently trained in armored vehicles to negate potential threats, but that is part of the fun. There is always more to learn, and your ability to cause death to your enemies and hope to your friendlies is a welcome relief to the fast and slow lifestyle of an armored vehicle.
What is Armor?
Armor can be anything ranging from an armored car with a gun, to a heavily armored main battle tank fielding a 125mm gun. Work with what you have, and try not to worry about what you do not. It is important to find out what kind of armor you will be using on an op-by-op basis to understand your role and capabilities.
Armored Mobility
Armor drives on wheels or tracks. Wheels operate like a very big car, and tracks operate like a skid-steer (Which can turn in place). The armor’s speed varies greatly, and it is best to ask more experienced crewmembers for specifications of the armor you partake in. Armor can drive through a lot of things at slow speeds, but some maps may have buggy objects (read: most maps) that can flip or destroy armor on collision (small bushes, large bushes, buildings, fences, rocks, etc). It is best to avoid these obstacles unless otherwise impossible.
WASD, Shift/Control to go fast or go slow.
Del key to the speed limit when driving
Armored Firepower
Armor has weaponry (normally). This may be a machinegun, autocannon, cannon, or ATGM launcher. Most of this can be selected with the F key and will show up in the top right where your ammo and types/reloads are (small number).
- AP(APFSDS) is best for penetrating enemy armor and aircraft (Xian gunships, jets). Always try to aim for the center of mass unless you feel you cannot penetrate the enemy armor, in which case aim for their gun and turret.
- HEAT/ATGMs are best for light armor, and in a pinch, good against aerial craft. This ammo will typically cause explosive damage, which can kill and injure infantry in a small radius.
- HE is best for unarmored vehicles and infantry. This makes big boom, infantry die.
If you have real-life armor experience, forget what you know. Shells work differently. Jets and helicopters have armor, and HE and sometimes HEAT will fail to penetrate the armor, causing only moderate damage (normally disabling the craft) while AP/APFSDS travels fastest (making aerial targets easier to lead and hit) and will always disable a craft if not blow it up instantly.
Armored Durability
Armor can save you if you mess up, but you should try not to mess up. Wheeled vehicles typically have little armor, whereas hand-held dumb-fire AT (RPG/RPG18/LAW) can disable or destroy the vehicle. Avoid all fire, and even avoid high caliber MG fire (emplaced MG, MGs mounted on vehicles like UAZ DHSK). On heavier tracked vehicles, you can safely (but should not) absorb handheld AT fire frontally, but side shots can disable your vehicle or worse, destroy it. Enemy armor will almost always be able to disable/destroy you, so take it out first. If you take a hit and can’t immediately kill the threat, retreat to a safe place and find what hit you. If you know where the threat is and are actively engaging it with the heavy armor of your own, face your strongest armor (normally the front) towards it.
Armored Survival Tips
- Never willingly expose yourself to a dangerous threat unless your crew believes you can destroy it first.
2. Only engage enemy air if you are confident in its destruction. Practice makes perfect. It is better to avoid it entirely if you are unsure. The same applies to heavy enemy armor against your light armor or heavy static enemy AT
3. If you become damaged, then attempt to disengage and repair from logistics and do a full repair (ace interaction with toolkit)
4. You can repair tracks in the field, and destroyed components if you have a toolkit and are part of Greyhound. Your tank has 1-2 spare tracks in the ace cargo you can pull out, place next to the destroyed track, and repair it.
5. If your hull is red/destroyed, attempt to immediately retreat to a safe area taking no more than 5 seconds! Then abandon the tank. If your vehicle does not detonate after 15~ seconds, presume it did not cook-off and attempt to recover and repair it.
How to Counter your Counters
Wait, what, right? How does armor counter jets, helicopters, and emplaced heavy AT positions? Easy, you spot and shoot them first. A skilled gunner and commander are vital for spotting, identifying, and appropriately deleting threats you face. This can also include light armor (like FV-510 warrior or BTR-80) encountering heavy armor (Like Abrams, or Merkava). Your best bet in these cases of Autocannon vs. cannon is to disable their gun if within range (<2km) and then attempt to shoot out their tracks (if they are front-facing). If they are outside this range, seek cover and report the armored threat for friendly CAS or AT to take out. Many tanks are vulnerable to losing their cannon to a skilled gunner, or simply outflanking the enemy armor and being shot in the side/rear of the hull.
Aiming Guide and PID
Easy; fire and adjust. Takes practice, and this guide is not large enough to cover every variant. Ask the Zeus or experienced personnel, what you are expected to have available in the next op(s), go into an editor and slap down a soldier and the vehicle, and practice shooting around. Some modern vehicles include automatic rangefinders, used by keybind T (default) that will then show a number either in the top right or on the gunsight that shows the ranged distance, then account for any enemy of the movement and fire dead center. Switching weapons (Main gun to MG) will mess this up and need re-done.
Find your targets in thermal (if available) and PID in visual/NVG. Check their weapons, their uniforms, their vehicle (if applicable), and their behavior. If any of these are checked for potentially being friendly, then double-check. Only fire before this check if your vehicle is in imminent risk (ex. Friendly infantry do not have RPGs, infantry sprints around a corner and points an RPG at your BTR-80)
Armored Interactions
Armor can transport infantry depending on the model. The armor should not puppy guard infantry (drive alongside them) unless infantry is requesting light arms cover. Armor follows orders from whatever it is attached to, or ground command if it is detached. You want to cover whoever you are attached to form an advantageous position that gives you the most Los, the best cover (with heavy armor, the best cover is often a range), and the best angle to cover your friendlies.
Pro tip: Do not enter cities unless infantry requests armored presence, or if you are driving heavy armor and the heaviest AT presence is handheld d.
Chain of Command
Listen to high command, then ground command, then any element you are attached to. If orders conflict, relay conflicted orders to figure it out (ex if high command says shoot the civilians, and the infantry element says not to, hold and relay conflicted orders). If you have lost communication with everyone but yourself, the tank’s commander is the acting element and will decide whether to continue their mission or attempt to regroup with other elements. Armor is generally meant, when in active combat, to operate on its own, with ‘loose commands’ being given. Ex. loose “cover us from the west” vs tight “cover us from that spot on the hill right there and don’t move”. If a tank comes under fire while listening to tight orders, it can disregard orders to ensure survivability.
Tank Chain of Command
Who tells who what to do in a tank? The tank commander gives move orders to the driver in a passive situation. The tank commander gives overwatch orders to the gunner and overwatches himself. An active situation occurs when a threat is spotted or they engage the armor. In these cases, the commander helps spot targets and relays relevant LR comms to his crew, while the gunner tells the driver where to move to best assist him at his job. A driver can react to threats on his own if he spots a dangerous threat (ex enemy tank shows up behind his tank, so he turns the tank around without order because the threat previously at their front was just infantry with no AT).
Passive priority: Commander-Gunner-Driver.
Active priority: Gunner-Driver-Commander.
Commander only takes over again when there are no threats actively visible to the crew.
Classification of Armor
Likely Friendly Armor:
BTR-60/70/80/80a (Wheeled IFV)
BMD-2/4 (Tracked IFV)
BMP-1/2/4 (Tracked IFV)
FV510 Warrior (Tracked IFV)
T72 (MBT) (Orange/Brownish hex camo)
T14 Armata (MBT)
Feel free to look these vehicles up to have an idea of their looks and performance.
Likely Enemy Armor:
UAZ-DHSK/SPG-9 (Wheeled technical)
Truck with BMP-1/BTR-60 turret (Wheeled technical)
BMP-1/2 (Tracked IFV)
T55 (bad MBT)
T72 (MBT) (Yellow/Greenish Splotch Camo)
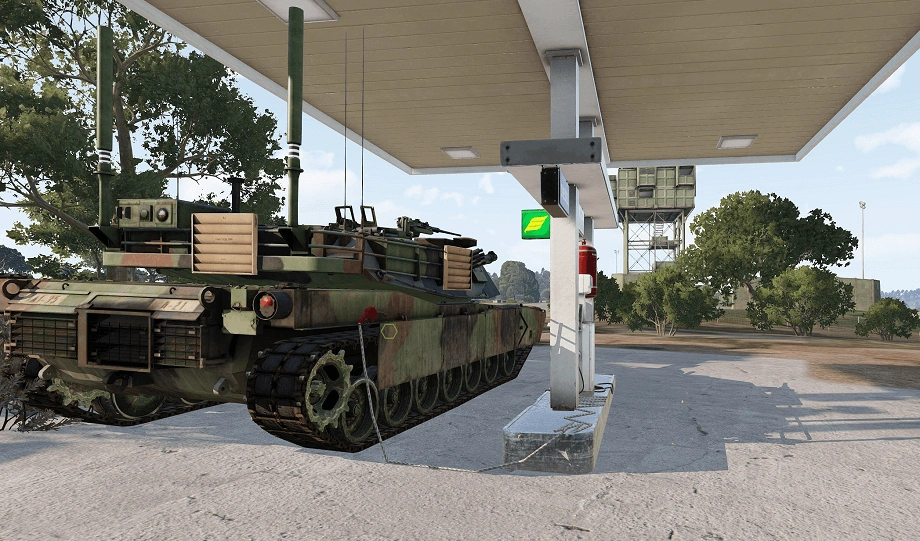
M1 Abrams (MBT)